We remain fully operational. Our teams are working around the clock to ensure your deliveries continue safely.

Descargar la aplicación


Servicios al cliente
Sobre nosotros
Copyright © 2025 Desertcart Holdings Limited
Descargar la aplicación
🔧 Bond like a boss—clear, fast, and unbreakable.
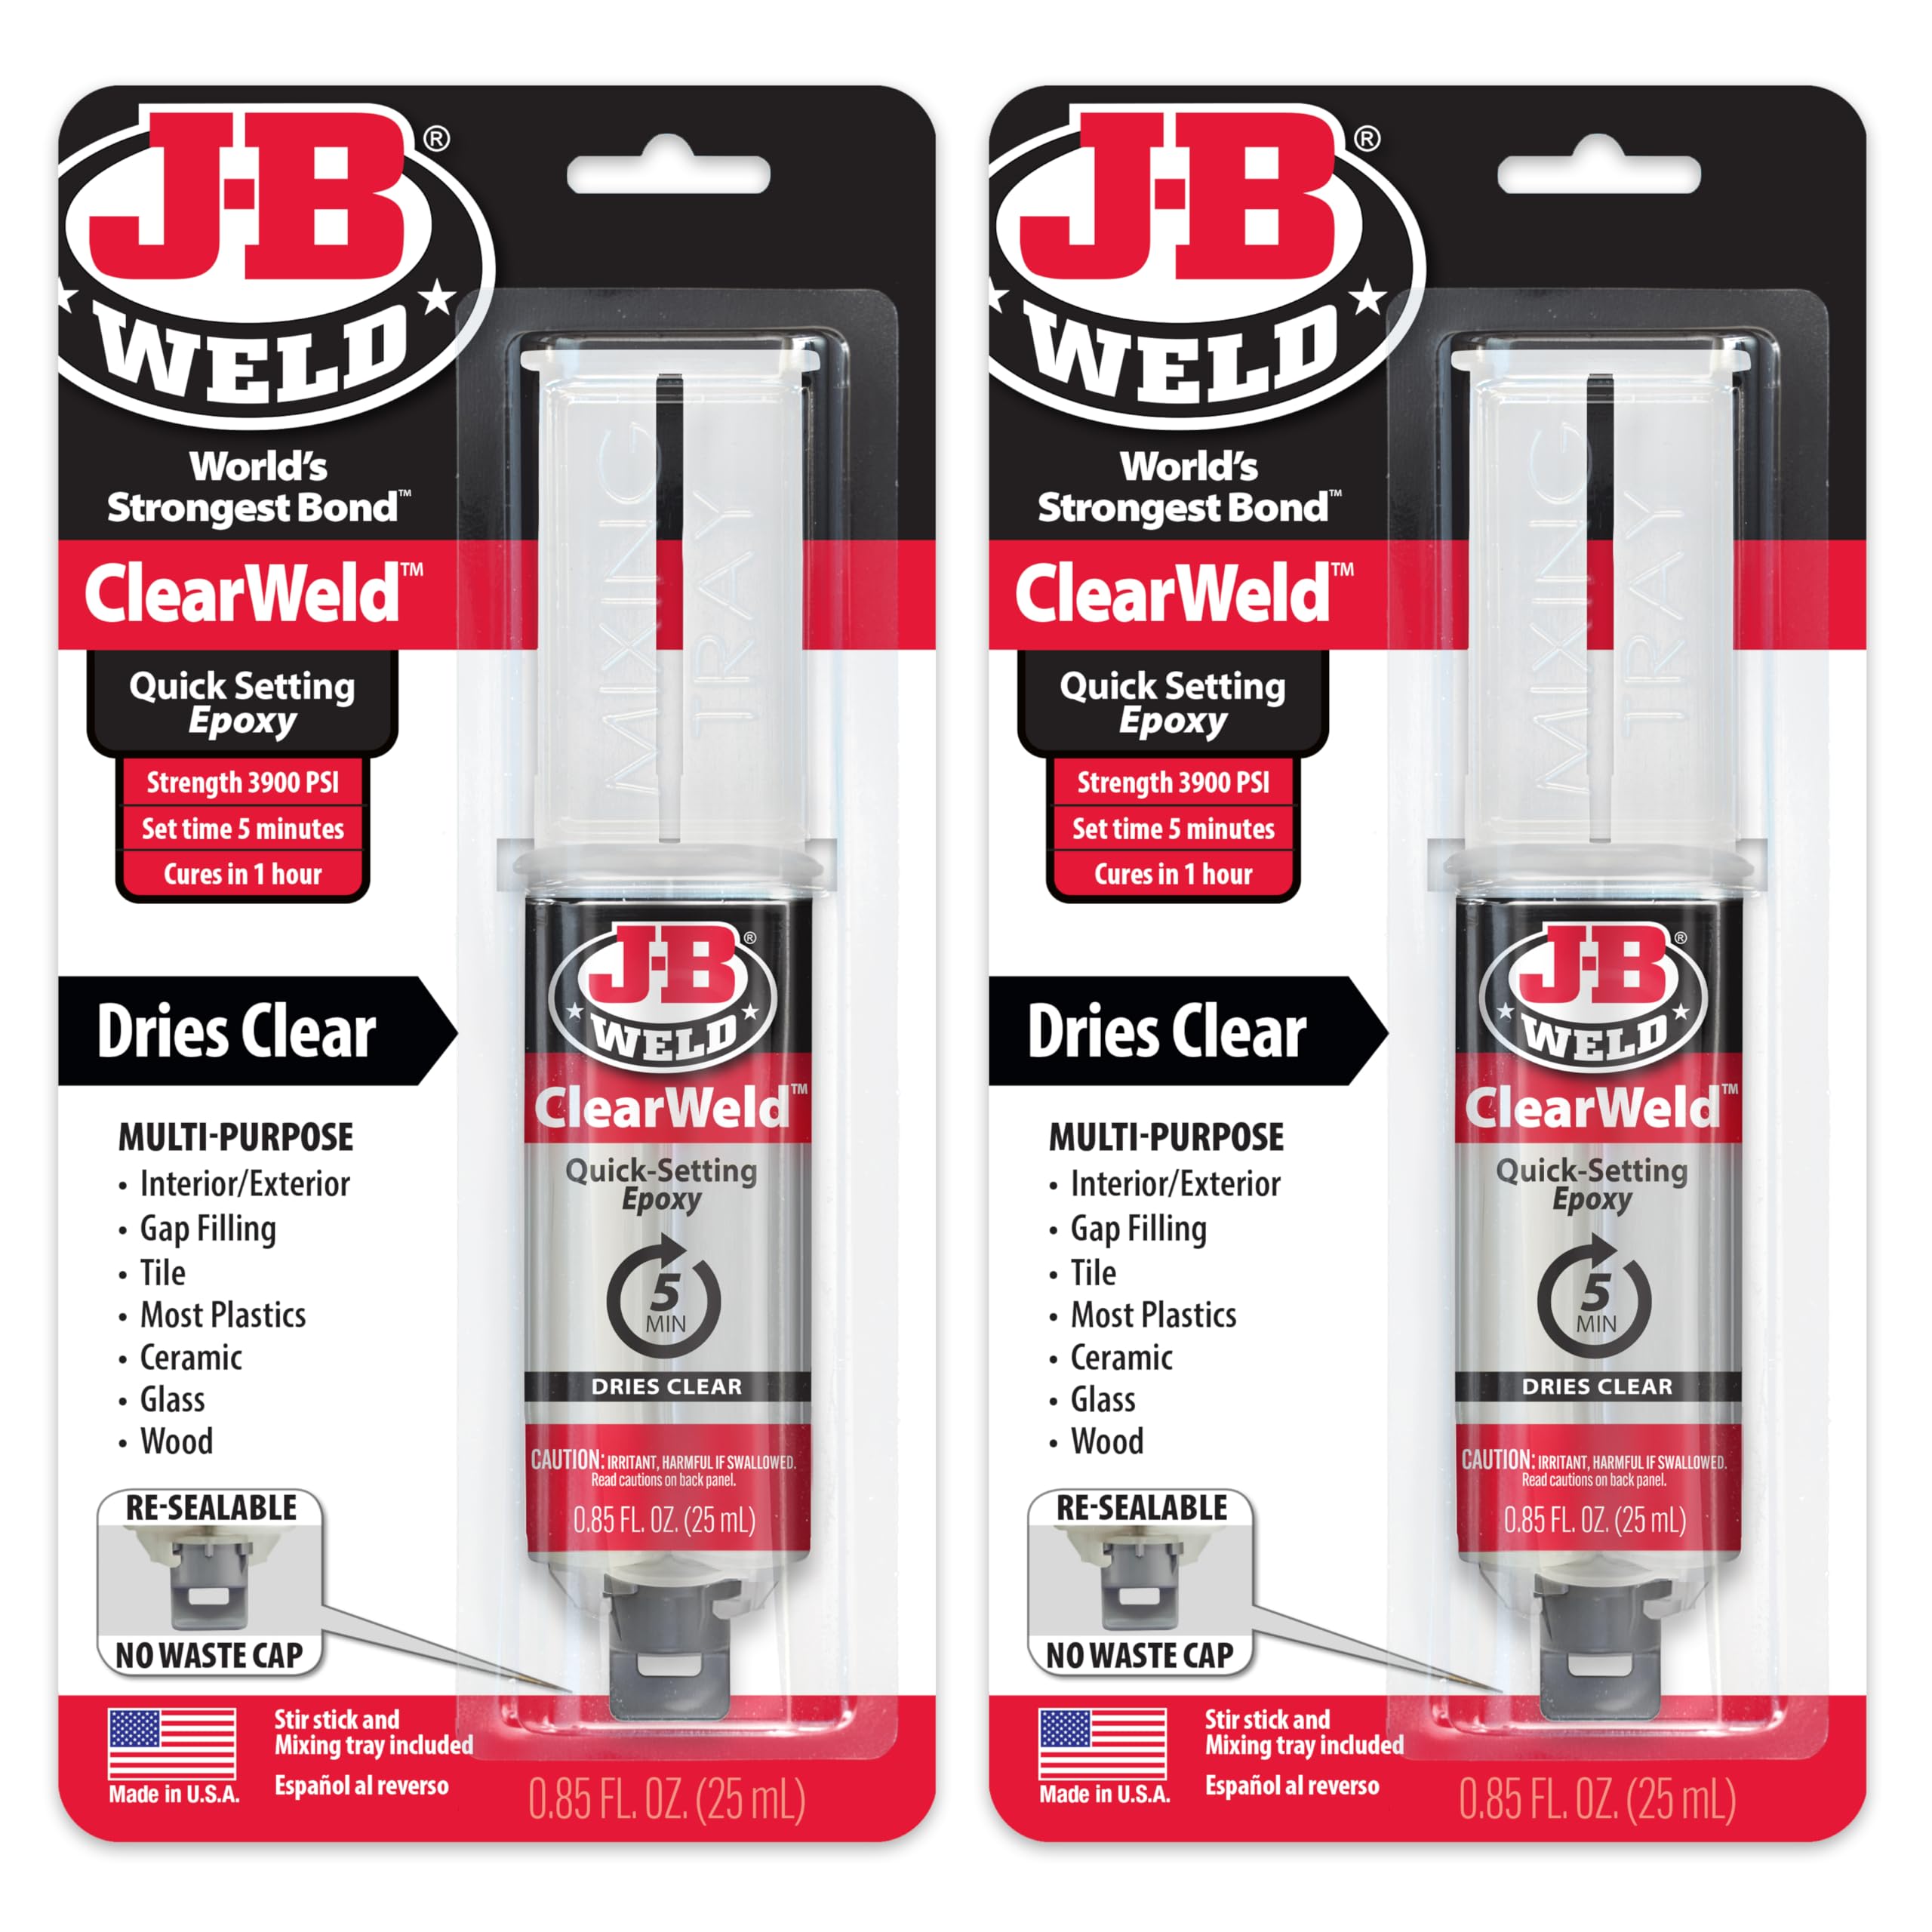
J-B Weld ClearWeld is a professional-grade, two-part epoxy that sets in 5 minutes and cures clear in 1 hour, delivering a strong 3900 PSI bond on metal, wood, glass, tile, and most plastics. Packaged in a convenient resealable syringe for precise mixing and multiple uses, it offers water resistance and a low-viscosity formula ideal for quick, invisible repairs that last.

| ASIN | B09C6R4VSQ |
| Best Sellers Rank | #799 in Industrial & Scientific ( See Top 100 in Industrial & Scientific ) #2 in Tile Epoxy Adhesives |
| Brand | J-B Weld |
| Color | Clear |
| Date First Available | August 9, 2021 |
| Full Cure Time | 1 Hours |
| Item Form | Liquid |
| Item Package Quantity | 1 |
| Item Volume | 50 Milliliters |
| Item Weight | 7.4 ounces |
| Item model number | J-B Weld - 50112 - 2pk |
| Manufacturer | J-B Weld Store |
| Material | Wood |
| Number of Pieces | 1 |
| Package Information | Syringe |
| Product Dimensions | 8.81 x 5.13 x 2.88 inches |
| Special Feature | Strong |
| Tensile Strength | 3900 Pounds Per Square Inch |
| UPC | 043425990457 |
| Unit Count | 1.7 Fluid Ounces |
| Viscosity | Low viscosity |
| Viscosity Level | Low |
| Water Resistance Level | Water Resistant |
S**S
Dries fast and hard. Adheres well. Personally prefer clear over gray.
I recently used this product to set steel rods into newel posts for an interior railing. I needed something that would set very strong given the safety implications of my project, and JB Weld fit the bill perfectly. I have some more rods to set, so finding a cheaper price on Amazon vs. the big box hardware stores was great. Working time / setting time: I saw several reviews say this takes 10-15 minutes or more. I had the exact opposite experience. Mine became tacky and gummy so quickly (3-4 minutes) that I had to get my items glued with hustle. I worked in small batches using little paper cups after losing a relatively large first batch to the quick drying. It's dry where I live, so maybe humidity comes into play and could explain the large variance between reviewers. I'm not sure when my items were fully set, as I didn't want to test them too early and damage the initial bond. Adhesion / strength: I glued steel into wood and steel into MDF, and both bonds are holding extremely strong. I had to remove one of the rods to fix some paint and it was quite difficult to get out - exactly what I was looking for. I initially used some classic gray JB Weld, which I think is potentially a bit stronger (just my objective feel, not sure if that's true), but I didn't want any gray to leak or show on my railing. The clear is holding plenty strong for my purposes. Don't expect JB Weld to replace real welding, however. It's still surface adhesion, so it has its limits. There are some great videos online showing you how strong this stuff really is when tested for torque, shear weight, etc. Clarity: Dries very clear, no issues whatsoever. The gray was making a mess on the white newels for my railing, but the clear is nearly invisible. I can see tiny spots where I spilled if I look closely, and they're easy to chip off with a razor.
J**F
Easy and strong
Bought an older bike to restore recently and it had some areas where the carbon fiber epoxy had chipped off. After a light sanding to minimize the edges, it took almost no time at all to apply the epoxy to those areas. Granted it is noticeable -- I didn't spend any time trying to blend it in properly -- but the important thing is that the carbon fiber is protected and the bike is performing wonderfully. It's an easy process, you just need to push out an equal amount from each side, mix it up for a minute, and then apply within about 5 minutes before it hardens too much. I found a cheap set of wood brushes and used one of those to apply. Obviously once the epoxy dries the brush is worthless, so I tried to find something that wasn't more plastic to throw away. The packaging includes a little shallow bowl to mix the epoxy in, which was big enough for my needs. Total dry time says 24 hours I think, and I had it out and riding after about that long so the timing is pretty accurate.
Z**Z
Word of advice... DON'T MIX WITH A QTIP!
I ordered some new headlights for my truck, and I noticed there was a little clamp missing, so they were damaged in transit. Instead of exchanging them (which the dealership offered), I figured I'd keep them and seal the area where the damage occurred. I did get reimbursed for shipment. I just put those funds towards purchasing this epoxy. So when it arrived, I figured out that I'd have to mix it. Had I known beforehand, I may have not purchased this... because I can get lazy. But it did come with a nice little stick (popsicle free) to help with mixing. I used a plastic cup and cut the topmost portions of it off, pumped this stuff on down into the top-chopped cup, and mixed it with the little stick for about a minute as directed. Oh, wait a minute... that was in my dream. Unfortunately, I used a cotton swab (QTip) to mix it, and not the stick... and it adhered to the swab quicker than expected, started to look like wet cotton candy, and was less fluid in less than a minute. The cotton was begging for mercy. Word of advice... DON'T MIX WITH A QTIP! I should've just used it for application only. =( However... I didn't require that much of the epoxy. I applied 2 or so 'coats'. It went on with a hue of clear to slightly tinted, and it began to dry within the minute. It truly covered the gaps on both of those headlights, and I'm no longer worried about any condensation getting into my new headlights. I went back hours later, and it blended in like someone just took clear plastic and 'inconsistently' smoothed it out over the headlight assembly. LOL!!! Great product! Very, very stinky (even after taping it back up inside the box), but great product. I bought two boxes, but I haven't even finished the first of the initial twin pack. Glad to have these in my arsenal, thanks to advice from my brother. 5 Stars. Hoping this helps you in making your purchase. Take care and have a wonderful, blessed day!! (= Z.
W**S
Solid Clear Epoxy for Quick Repairs, With a Few Limitations
I picked up the J-B Weld 50112 ClearWeld Syringe to repair some gouges on a motorcycle headlight, and overall it worked well for what I needed. The epoxy dispenses cleanly, mixes easily, and dries clear, which made it a good choice for a visible surface like a headlight lens. A few things to keep in mind: the product does yellow when exposed to UV, so it’s better suited for areas that aren’t constantly in direct sunlight or where appearance changes won’t be noticeable. It also stayed slightly rubbery even after curing, rather than becoming fully rigid like some other epoxies. The set time was longer than advertised too—mine took noticeably more than the stated 5–15 minutes before it firmed up enough to handle. On the positive side, the repair itself held up fine, and the clarity made it blend in better than expected. The only downside is the price feels a bit high for the amount you get, especially if you're using it for multiple or larger repairs. Still, if you need a clear-drying epoxy for light to moderate fixes and can work around the longer cure time and UV yellowing, this is a reliable option.
S**E
Colle dont le packaging est espagnol, mais avec une explication en allemand. Le parquet était poussiéreux. La colle était séchée, et colle difficilement pour de lepoxy. Surtout ne pas acheter, c'est honteux de vendre un produit dans ces conditions.
V**Y
Never buy this product
F**L
It's been 24 hours and product is well mixed with equal amounts, however it's still sticky and not drying up. Label shows good expiry, but is seems the issue is bad storage or changed expiry dates. WASTE OF MONEY
C**S
This product's strength lies in the speed at which it adheres and forms a strong-enough bond. Even though full strength is not achieved for 24 hours ( that needs to be said ) it does "go-off" in around 5 minutes - and that means whatever is being stuck together has a better chance of staying together. If you're working with two pieces that can be readily clamped together then a traditional epoxy will perhaps produce a stronger bond, I won't pretend that I know either way for sure, however in my experience is the real challenge is holding what I want to glue together in a firm and consistent way for the many hours needed to get that proper bond. If the "things-to-be-bonded" are regular in shape etc then there is little issue, in a vice or a clamp, or just a level surface, and we're done. However, when say fixing things together that are oddly shaped, so fragments of something wishing to stay broken (thanks gravity), one can hardly stand for hours on end holding the bits together. Using tape and clamp/s etc can help, but only if it's possible to get good purchase on the parts and too many times I have returned to find more irregular shaped things have moved; either failing to bond or bonding misaligned. On this occasion I had a shattered plastic "bumper" body panel from machine to repair, where nothing is regular and the object itself is relatively bulky. With this product I had the ability to get the jigsaw together in a timely fashion - and the pieces (aided by some masking tape) stayed where they need to be. (In the interests of the narrative once the shattered panel was pieced together I reinforced it with fibreglass and resin, but to get there I needed it to be firmly together, this product achieved this, and was strong enough to support the mended panel being manhandled on the bench before reinforcing, and the product did sand back at least as well as the plastic itself) In conclusion the best two pack epoxy glue I have used.
H**D
good service
Trustpilot
Hace 1 semana
Hace 1 mes