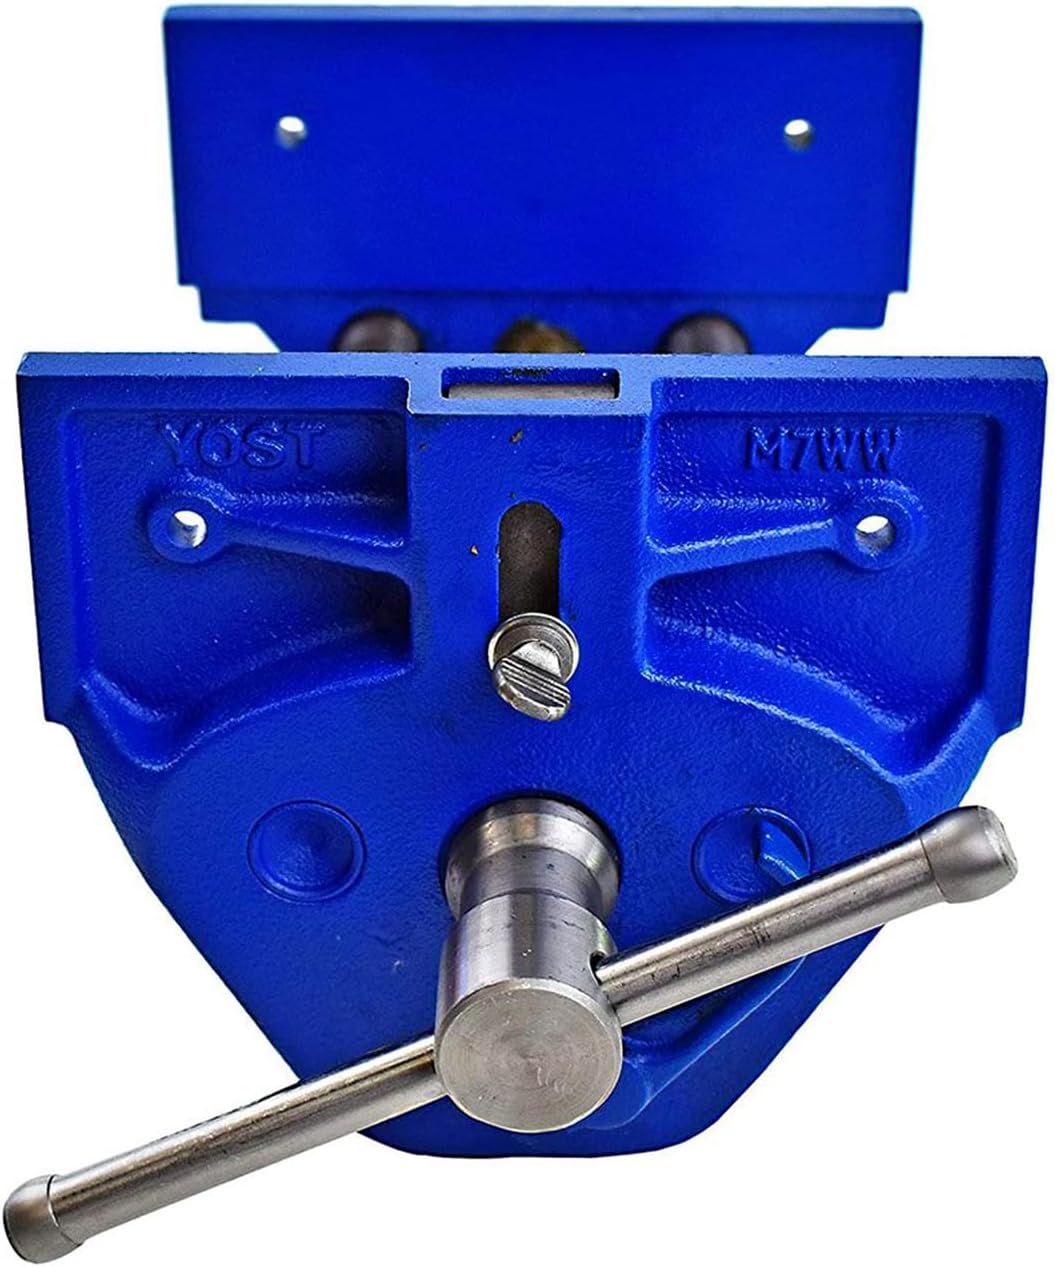
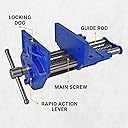
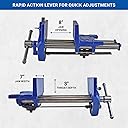
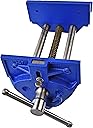
I recently received and installed the Yost 7 inch model M7WW. Very pleased with it. It seems almost stupid heavy, but good vises are. It is a nicely finished, well made, quality product and the rapid action feature makes it a pleasure to use. It has great clamping force - no more vise jaw racking and work pieces slipping. Limited use so far, but It held everything solidly while I sawed and planed material. The vise is easily operated with one hand, even the rapid action feature, leaving the other hand free to position the material to be clamped.Be aware - this thing is heavy, the shipping preservative makes it slick, and it comes with very sharp edges. While lugging the boxed vise downstairs to my shop, I pretty much knew I would need to reinforce my light weight workbench to handle this blue monster. Working over a layer of cardboard on my work bench, I removed the preservative first, using a citrus based solvent and paper towels. Be careful around the sharp edges of the vise jaws. Cleaning the vise threads was easier after the vise was mounted: I put several layers of paper towels over the edge of a putty knife and held the blade into the thread recesses while turning the vise handle. After cleaning away the preservative, I spent several minutes with a file removing the flesh eating sharp edges along the machined surfaces, vacuumed up the metal filings and a little flesh, then washed my very dirty hands. I applied Boeshield T-9, a lubricant and metal protector that leaves a dry surface to minimize sawdust build up.I then quickly mounted the vise to my bench and lived happily ever after! In my dreams, anyway. My installation become a bit complicated. If interested in ghastly details, continue reading.I set my workbench upside down on a table so I could better access the vise mounting area. Two problems became immediately apparent. Alas, there would be more but less apparent problems later on. First, my work bench’s seemingly 2-1/2 inch thick top was not solid. It has a 3/4 inch thick top set inside 3/4 by 2-1/2 inch wide skirt boards. This leaves a void of 1-3/4 deep by about 4 by 18 inches in the area where the vise would be mounted. Yost recommends the bench top be at least 2-3/8 inches thick where the vise is to be mounted. The second, immediately apparent issue involved the bench’s wooden crosspiece that supported the top and the legs. This crosspiece interfered with the vise’s sliding mechanism that hangs about 3-3/4 inches below the bottom of the bench top, is about 5 inches wide, and projects back under the bench about 12-1/2 inches from the edge of the bench top. If I would have mounted the vise on the side of the bench top instead of the end, I might have avoided this leg crosspiece interference problem, but that wasn’t the location I wanted.For the void issue, I decided to fill that area in with 2x material ripped and cut for a snug fit flush with the bench top skirting, then glued, screwed and clamped all of the pieces into place. I sanded the varnished bench top under surfaces prior to gluing for a better glue bite. I added a 2-1/2 inch wide piece of 2x4 to the end of the bench top to provide a solid place for anchoring the front two vise mounting lag screws, rather than in a glue joint. Then I covered the bottom of this ripped 2x4 and the filled in area with a layer of 3/4 inch plywood, glued and screwed into place. While the plywood layer would put the top of the vise 3/4 inch below the bench top, it reduced the crosspiece interference problem to an acceptable amount of crosspiece material to be removed. It also added reinforcement to the area. The vise would now mount against the plywood and the 2x4.Apparently I was becoming a vise snob as I felt the need to stain and varnish the added wood before attaching the vise. Finally ready to mount the vise, I clamped the vise into position, drilled 1/4 inch pilot holes for the four 5/16 inch diameter lag bolts (not included), and fastened the vise to the bench. This area of my bench top was now 3-1/4 inch thick, and with the added thickness of the vise bottom and a flat washer, I used 3 inch long lag screws. I carefully set the now much heavier work bench back on its feet. With the vise anchored to the bench, the vise’s smooth and rapid action was amazing.The added plywood layer also meant that the vise dog would no longer extend above the top of the bench. I couldn’t find longer dogs or dog extensions, but did find an online site offering a steel bar measuring 1/2 x 1 x 4 inches. After a bit of grinding and filing the 1/2 inch thickness back to about .47 inches on the lower 2-1/2 inches of the steel bar, it now fits into the dog pocket of the vise. I now have a drop-in steel vise dog that extends an inch above my bench top when needed.With the new vise fully extended, the handle is about 18 horizontal inches away from the nearest leg pair. That’s a lot of overhang on a fairly light work bench. With the vise closed, the overhang is about 11 inches. I cut pieces of 2x4 to make two bench leg “side extensions” that were 20 inches long, tapered them for a better look, and also stained and varnished them (that vise snob thing). These were screwed to the bottom part of the two bench legs closest to the vise, with the 1-1/2 inch edges extending toward the vise, touching the floor, and reducing the overhang by 3-1/2 inches. This seemed effective and also noticeably stiffened that pair of legs. See the attached photo, which also shows modifications for a different project.There was still some undesirable rocking of the workbench’s legs, so I made a 14 inch long diagonal brace for each leg using 1x4’s mitered at 45 degree at both ends, and screwed them to the bench top skirt boards and to the legs. This made a big improvement in the bench’s stability.Vise jaw faces. The jaw face mounting holes in the vise jaws are not threaded, and the front jaw face mounting holes are not aligned with the rear jaw holes. Wood screws or sheet metal screws will be needed to mount the jaw faces. While the rear jaw face could be attached with screws from the back of the rear jaw, it won’t then be possible to remove the face without removing the vise. I wanted to be able to quickly and easily swap out jaw faces, which meant attaching the rear jaw face after the vise was mounted, with visible but recessed screws, through the rear jaw holes and into the edge of the bench top. It is easier to mark the position of the rear jaw face screw holes on the back of the face before the vise is mounted, by working from the back of the rear jaw. The front jaw face is easily marked and positioned after the vise is mounted.I used 3/4 inch plywood for my first set of jaw faces, and cut them 3-5/8 inches high and 9 inches wide, a bit taller and wider than the 7 inch wide jaws. This put the the top of the jaw facings at the same height as the bench top after my modifications.I knew it would be a bit of a challenge to put this vise on my particular bench, but I’m glad I made the needed modifications as this vise is so way better than my previous vises. It is truly a bargain - buy it!