Description
🔥 Upgrade your halogen oven game — don’t get left in the cold!
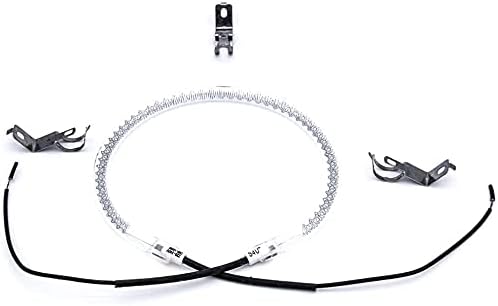
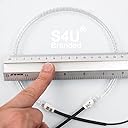
- PRECISION ENGINEERING - 130mm inner & 150mm outer diameter designed for optimal heat distribution.
- DIY READY WITH CAUTION - Ideal for skilled fitters aiming to extend oven life and avoid costly replacements.
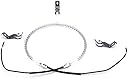
- UNIVERSAL COMPATIBILITY - 22cm leads and 3 clips ensure seamless fit across most 12-17L halogen ovens.
- POWER PACKED PERFORMANCE - Delivers a robust 1200-1400W output for rapid, even heating.
- PREMIUM QUALITY ASSURANCE - Brand new, rigorously tested bulbs shipped in custom packaging for ultimate protection.
The S4U Universal Halogen Oven Cooker Heating Element Bulb is a premium 1400W replacement part featuring 22cm leads and 3 clips for broad compatibility with 12-17 litre halogen ovens. Engineered with precise dimensions (130mm inner, 150mm outer diameter), it ensures efficient heat distribution and reliable performance. Each bulb is brand new, tested, and carefully packaged, designed for professional installation to extend your oven’s lifespan and maintain peak cooking efficiency.